
Add or Remove a Customer from a Mailing List
Steps for Adding a Customer to a Mailing List Click Customers > Customer List. Search for the Cus
Enter whatever you're curious about and we'll give you a smart summary of the best answers as well as relevant articles.

 February 23, 2026
Your point-of-sale system has long supported* text messaging in various parts of the system — sending receipts, work order notifications, and more. The Messaging Assistant widget brings all of that together in one place, adding the ability to receive customer replies and hold full two-way conversations.
*Text messaging is only available in the Marketing Package.
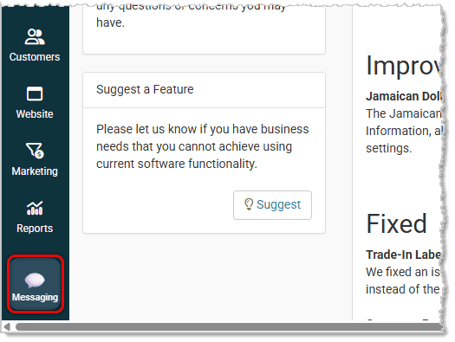
The widget appears in the bottom-left corner of the screen and is always accessible, no matter where you are in the system.
⚠️Important: Bulk text messaging is a separate feature and is not affected by the Messaging Assistant widget. This article covers two-way texting only.
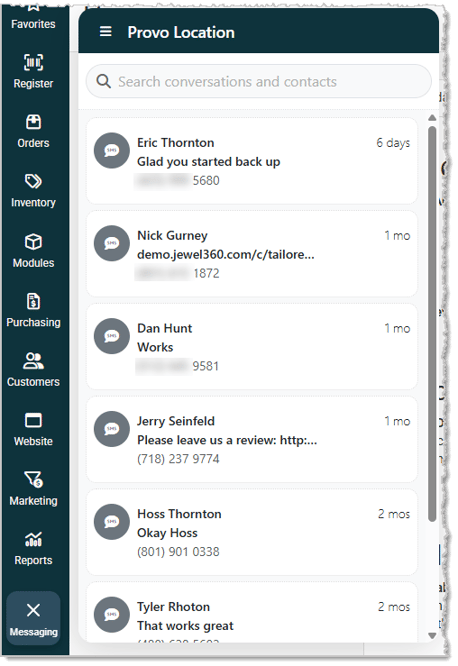
The Messaging Assistant widget lives in the bottom-left corner of your screen at all times. If you have any unread messages, you will see a badge with a count on the widget icon. Click the icon to open it.

Inside the widget, you will see a list of all your active customer conversations, organized with the most recent at the top.
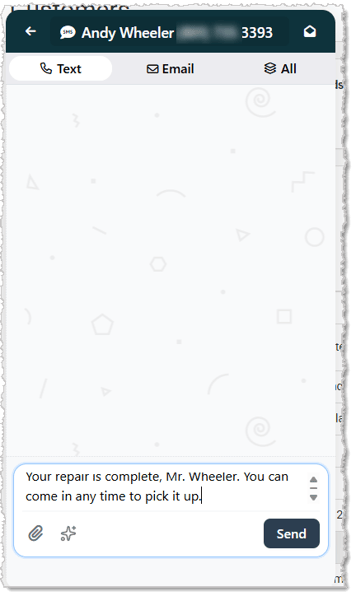
To send a message to a customer:
Some best practices to keep in mind:
Once sent, the conversation will appear in your message list. The customer will receive the text message on their phone.
When a customer replies, their message will appear in the conversation thread inside the widget. The widget badge will update to show you have an unread message.
💡Note: Replies are only captured when the message is associated with a customer record. If you send a message to a phone number that is not linked to a customer in the system, outbound messages will go through, but any replies from that number will not appear in the widget.
Sometimes customers send difficult or unexpected messages. The Messaging Assistant includes an AI response tool to help you craft a thoughtful reply.
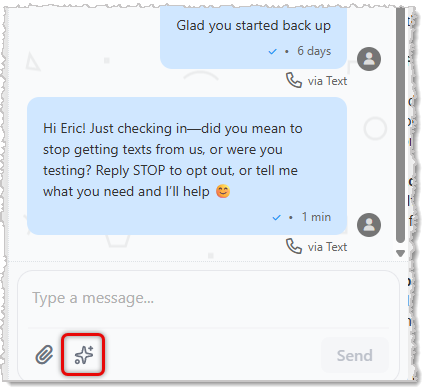
When viewing a conversation, you can use the AI suggestion feature to generate a draft response. The draft will appear in the text field so you can review and edit it before sending. This is especially useful when handling complaints or sensitive situations where wording matters.
You can attach files to any message you send through the widget. This is useful for sharing photos of work in progress, contracts, invoices, or any other document.
Click the Paperclip Icon in the lower left and you can either drag and drop files for attachment or you can click to browse your device.
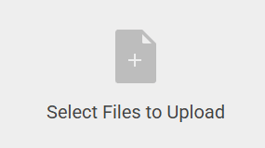
Supported file types include images and PDFs. When you attach a file, it is sent to the customer as a link rather than a direct attachment, so you can attach large files if needed.
Several areas of the point-of-sale system can send text messages. All of those messages now route through the Messaging Assistant widget. Here is how each area works and what to expect.
When completing a sale at the register, if the customer has a phone number on file, the system will prompt you with print and notification options. By default, the customer's phone number will be pre-filled for both receipt delivery and review request.
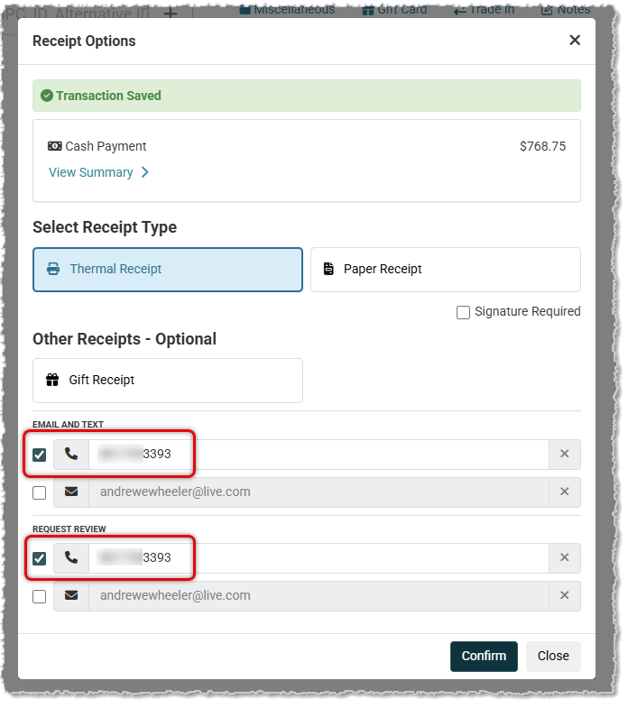
If you confirm those options, two text messages will be sent automatically. Both messages now route through the Messaging Assistant widget. If the customer replies to either message, their reply will appear in the widget.
Please Note: If you complete a transaction without a customer attached and later want to text a phone number directly, you can type the number into the widget and send an outbound message. However, because there is no customer record linked, any replies from that number will not be captured in the widget.
The work order screen has its own built-in messaging panel in the bottom-right corner. This panel will continue to exist and you can still send messages from it. However, there is an important change in how replies are handled:
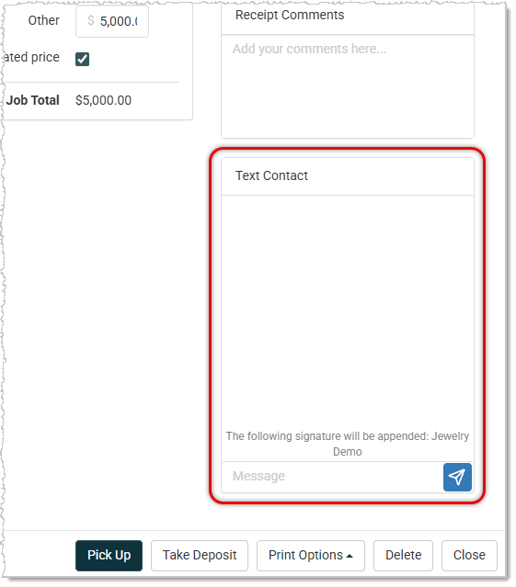
This is because the Messaging Assistant widget does not send data back to the work order screen — information flows one way, from the point-of-sale system to the widget. For any incoming replies, open the widget.
When a work order status is updated to Ready for Pickup and saved, the system automatically sends the customer a notification via text and email. This continues to work the same way it always has.
The outbound notification message will appear both in the work order screen panel and in the Messaging Assistant widget. If the customer replies, that reply will appear in the widget only.
💡Pro Tip: For all incoming customer replies related to work orders, check the Messaging Assistant widget. The widget is the single source of truth for all inbound messages.
The system has supported sending the customer a text notification for online orders set by navigating to Settings > Website Settings > Order Notifications. This functionality continues to work as it did before and is not affected by this change. Those messages will continue to show in the Text History page under Communications but currently don’t appear in the Messaging Assistant widget.
This functionality continues to work as it did before and is not affected by this change. Those messages will continue to show in the Text History page under Communications but currently don’t appear in the Messaging Assistant widget.
Text message history that was previously visible in the work order window chat remains visible there for the short term but will eventually be removed. All text message history can be seen by navigating to Marketing > Communications > Text History. All text message history after integrating with the messaging widget will be visible in the messaging widget.
|
Area |
Outbound Messages |
Inbound Replies |
|
Register — Receipts & Review Requests |
Sent via the print options window and appear in the widget |
Appear in widget |
|
Work Order — In-line Panel |
Still shown in work order panel |
Widget only (not in work order panel) |
|
Work Order — Ready for Pickup Notification |
Shown in both work order panel and widget |
Widget only |
Is this page helpful?
×Help us improve our articles