The Create Email page is where you build, preview, and send marketing emails to your customers. You can write the email yourself or use the AI Assistant to draft it for you.
Building Your Email
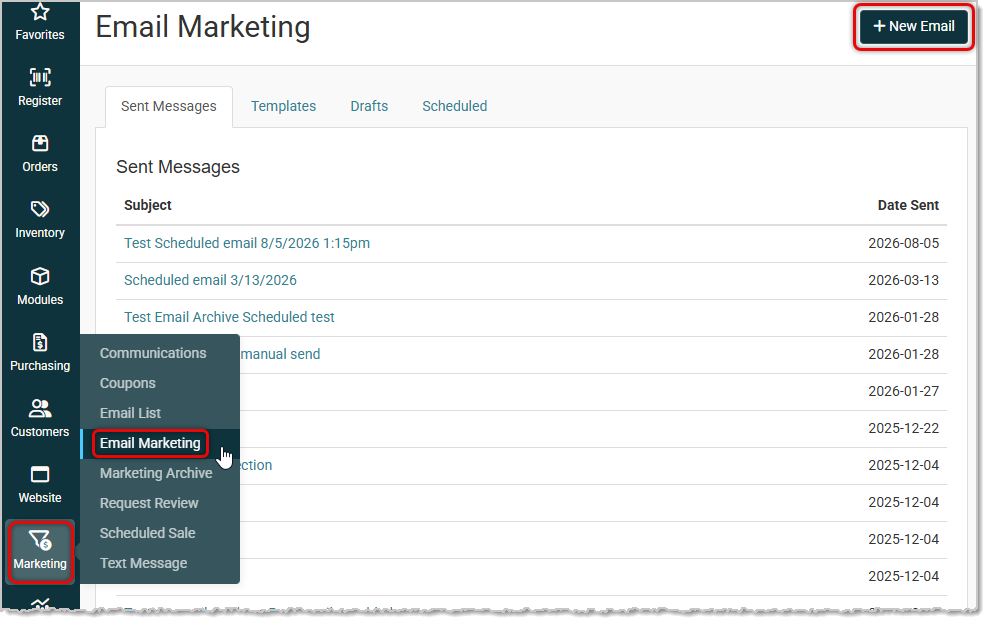
To get to this area, in the Marketing menu, go to Email Marketing, and in the upper right, click on the +New Email button. The Create Email page will load for you.
The Create Email page allows you to compose whatever email you might need to send to one or more of your Customer Groups. In our example we'll use an outdoor retailer with a weekly email. On the right side of the page you have an AI Assistant. If you haven't used AI before, you can use this assistant by describing in plain language what you want for your message. We'll give you an example 'prompt' below and the result that the AI Assistant came up with for this message. It can create a time-saving starting message you can adjust and flesh out with details and images, if needed.
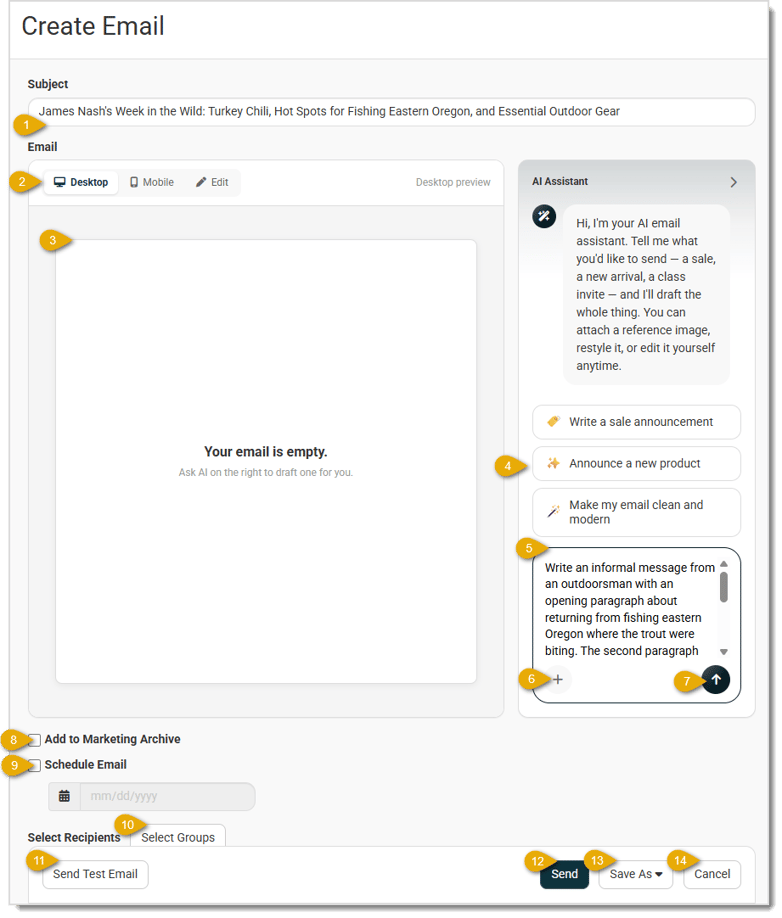
Here are the functions of the Create Email page:
- Subject — Enter a subject line at the top of the page. A subject is required before you can send the email or send a test.
- Email Body — The Email Body preview / editing area has three tabs:
- Desktop — See how the email will look on a full-sized display.
- Mobile — See how the email will display on a phone-sized screen.
- Edit — Switch to a rich-text editor to write or edit the email yourself.
- Preview Window — The preview window will display message content written by your AI Assistant for whichever mode you choose, Desktop or Mobile, or it will display the content editor described below.
- Prompt Shortcuts — The AI Assistant provides some common single-click shortcuts for simple requests for message content. Click one of these to have the AI generate content or clean up what you already have. Please note that in the upper right, if you need to have more space, you can click the Arrow button to hide the AI Assistant panel.
- Prompt Window — Enter your request in plain language, think of it as instructing a marketing copy writer employee in the message you want, in this window. You can enter any amount of text and go to any level of detail you like. The assistant writes both the Subject line and the full email message, then updates the preview immediately. If you have written a Subject, as in our example above, the AI will rewrite it, as in the output shown below. You can keep chatting to refine it: change the tone, restyle it, or ask for specific edits. The assistant automatically pulls in your store's brand color, logo, and website links, so you don't need to specify them.
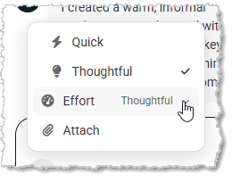
- Prompt Options — Click the Plus icon to open your options list, as pictured below. You can attach up to four images either using the Attach button, which will allow you to browse your device, or you can just drag and drop the image files onto the Prompt Window. You can also specify how involved you want the AI to be by setting its Effort level. By default, it will be in Thoughtful mode, which may take a little longer to produce your message, depending on how much you've written in your prompt. If you choose Quick, the message will be much faster and simpler.
- Submit Button — When you have finished entering your request or update, click the Submit button (Up arrow) and the AI Assistant will begin working on your request. Once it has finished, it will describe what it did for you, as pictured below with our sample prompt.
- Add to Marketing Archive — If you use the Marketing Archive module, which will keep a running list of saved messages you can display on a web page, check this box to add this message to the archive. This is typically used for messages with informational content, such the example with its fishing recommendations and chili recipe.
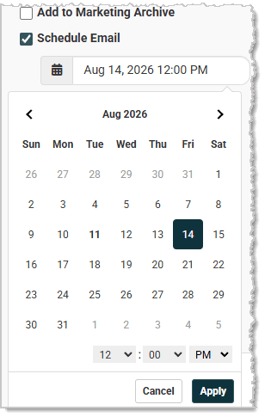
- Schedule Email — If you want to send the email at a future date and time, check the box to Schedule Email. In the Date Picker that opens, select the date you want, then enter the time of day you want to have the system send it. Click the Apply button when you're finished.
- Select Recipients — Click the Select Groups button to choose the group(s) to which you want to send the message. You can create and manage your Groups under the Customers area of the main menu in Customer Groups. Check the boxes for the groups you want, then click the Save Selection button.
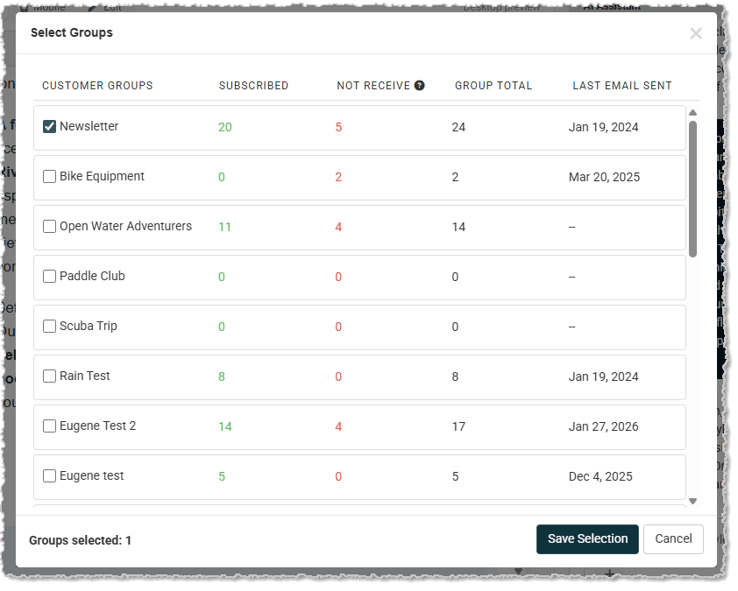
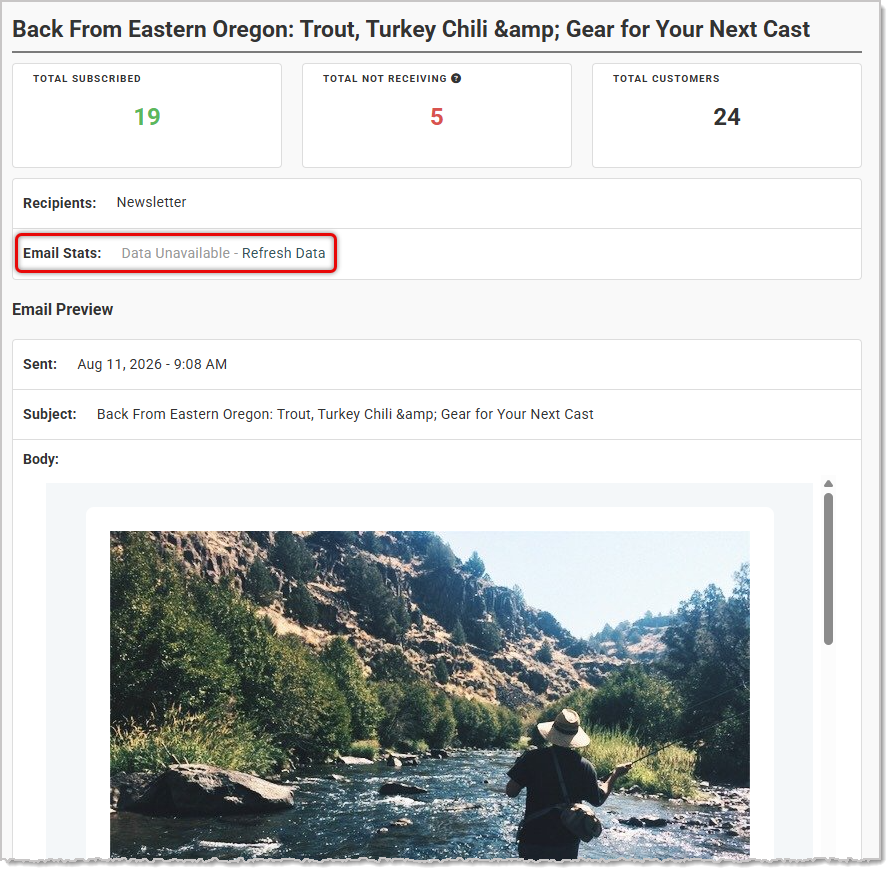
The Select Groups button will display the number of groups you have selected. You will also see Total Subscribed, Total Not Receiving, and Total Customers across all selected Groups, as pictured below.

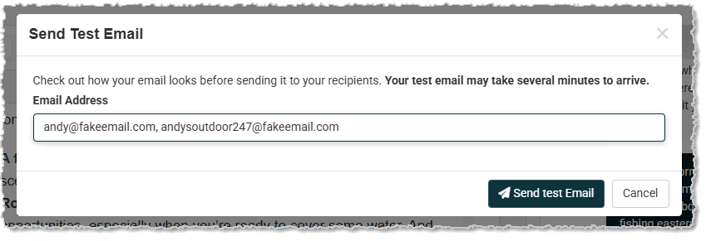
- Send Test Email — If you wish to send a test email to see what your message will look like, click the Send Test Email button. You can enter one or more email addresses, separate them with commas, then click the Send Test Email button.
- Send — When you are done composing your message and configuring the Groups to send it to, if you want to send the message out immediately, click the Send button.
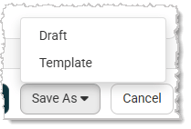
- Save As — If you need to save the message, there are two ways to do so. Click the Save As button and you can either save it as a Draft or as a Template. Draft messages are temporary saves that will remain in your list until you send the message. Templates are permanent saves you can use as a starting Template for future messages. When you click either option, you'll be returned to the Email Marketing page and you'll see your email in the appropriate area (Templates or Drafts tab).
- Cancel — If you decide to leave the page without sending, click the Cancel button. Please note that if you have changes to your message that you haven't saved, they will be lost if you Cancel.
Example Message Composition With AI Assistant
For our example above, we entered the following prompt:
"Write an informal message from an outdoorsman with an opening paragraph about returning from fishing eastern Oregon where the trout were biting. The second paragraph should be a recipe for turkey chili. The third should outline the best fishing spots in eastern Oregon. And the final paragraph should feature wading boots on sale, a new fly-fishing belt pouch, and a waterproof boonie hat that cuts UV.
Here is the result the AI produced after researching the requested elements, note the change to the Subject line:
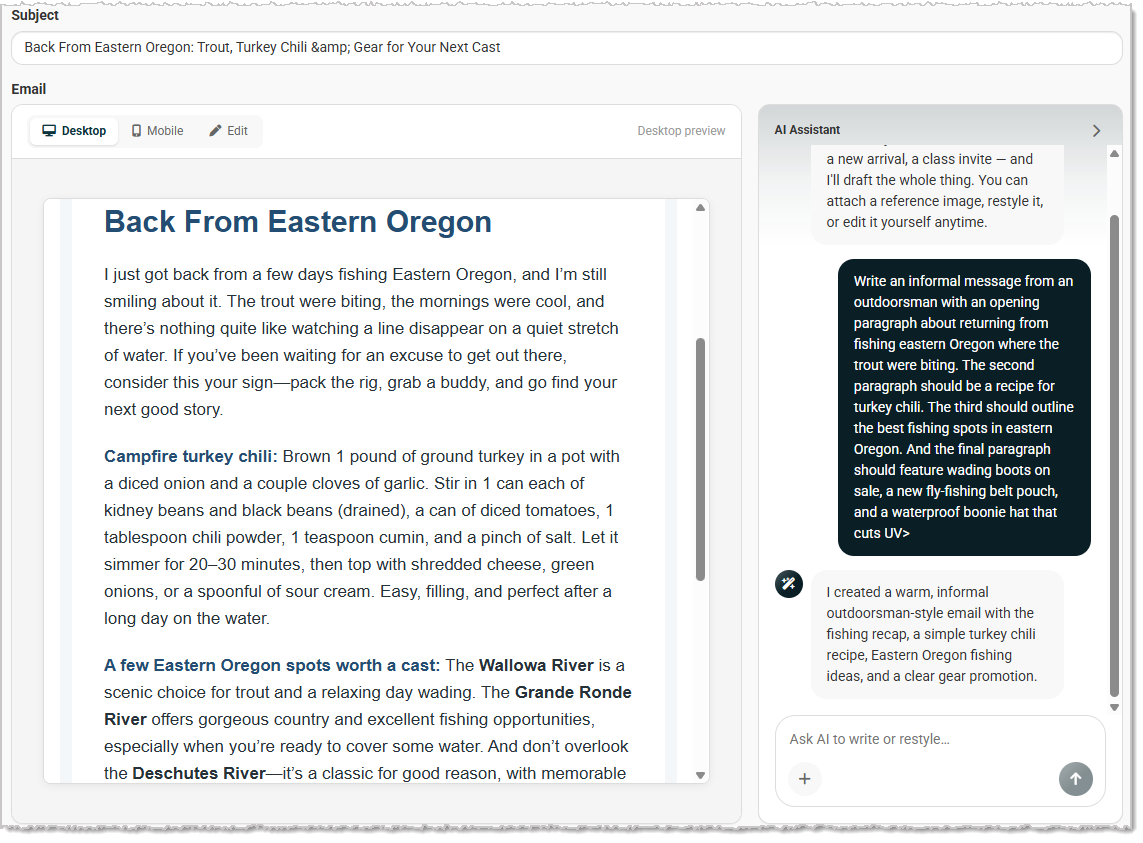
The AI Assistant isn't likely to ever give you exactly what you want, but it will give you a great starting place from which to work, and that will save you time. It's much easier to edit than to compose from scratch, so let the AI do the heavy lifting on the front end, and polish it up with details and your unique brand voice.
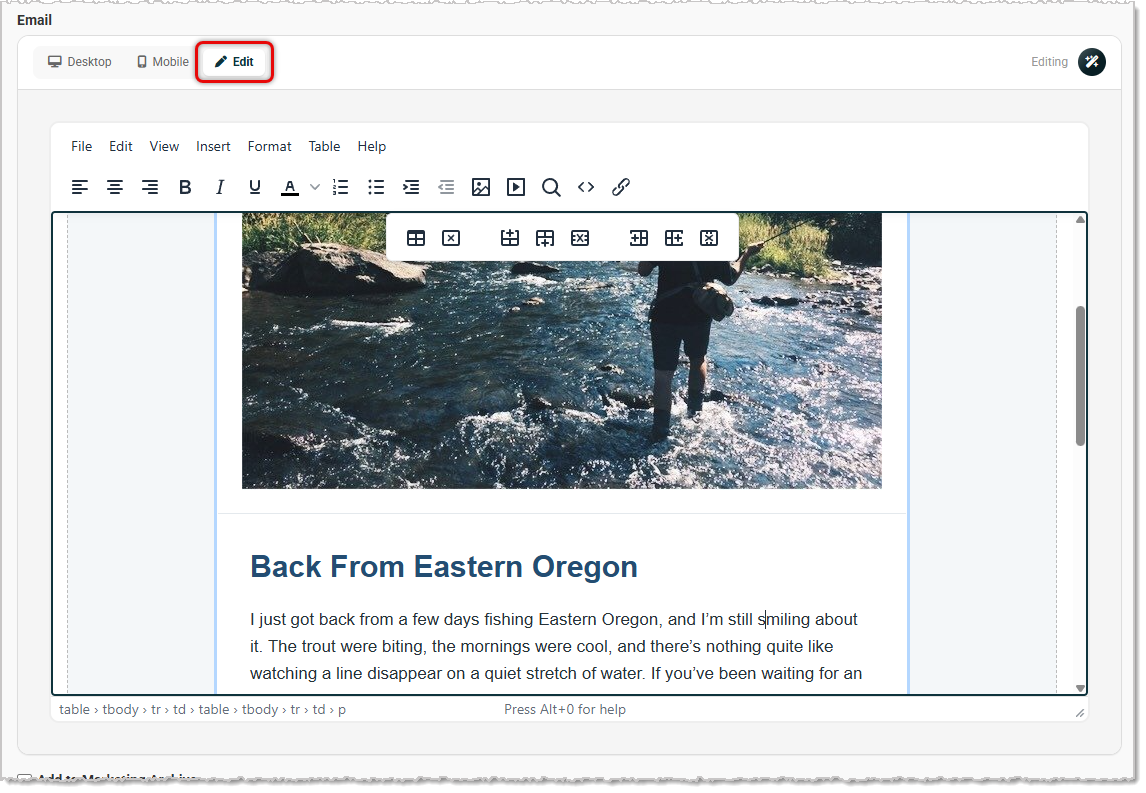
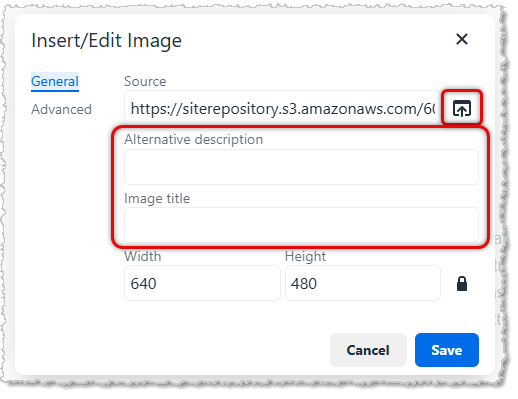
After the AI produces your initial message, you can use the Edit mode to adjust it. The AI will provide a sample image, if none are in your prompt, and you can easily change it using the content editor controls. After clicking the Insert/Edit Image button or using the Insert > Image selection from the menu, the Insert/Edit Image window will open, as pictured below. Click the upload button on the right to upload new images, or to browse for one you have already uploaded to the Files area of Website. For any images you add, you will want to add an Alternative Description and a Title so the search engines can properly index the image and so that sight-challenged visitors can have the image description read to them. Click the Save button to load the image into the message.
Once you have sent your message, the system will report delivery stats for you. To check the stats, in your Sent Messages tab of the Email Marketing page, click on the message you sent. The Email Message page will open showing the recipient Group(s), Email Stats, and an Email Preview. It may take a few hours to start seeing results in the Email Stats area, and you can click to Refresh Data as needed.


 August 11, 2026
Is this page helpful?
×Help us improve our articles